I made this little purse for my daughter from one of her favorite sleepers she grew out of, while I had internet issues and thought I would post how I did it. Quick and easy.
Upcycled Sleeper Purse
You will need the sleeves of a sleeper and Upcycled Continous T-Shirt Yarn or other yarn if you prefer. I also made the closure with yarn and a jean bead I rolled. You could use a button or whatever you prefer. I used a toothpick to make holes for threading my yarn and a plastic yarn needle for pulling the yarn through the holes. If you make the holes before, you can easily turn this into a craft for a child to finish for themselves or a gift.

 I layed the sleeves the way I wanted to connect them. Right side facing out and made folds along all the edges and used straight pins to keep them in place. I also used a piece with a little bear on it for the flap. I pinned that to the back inside of the purse.
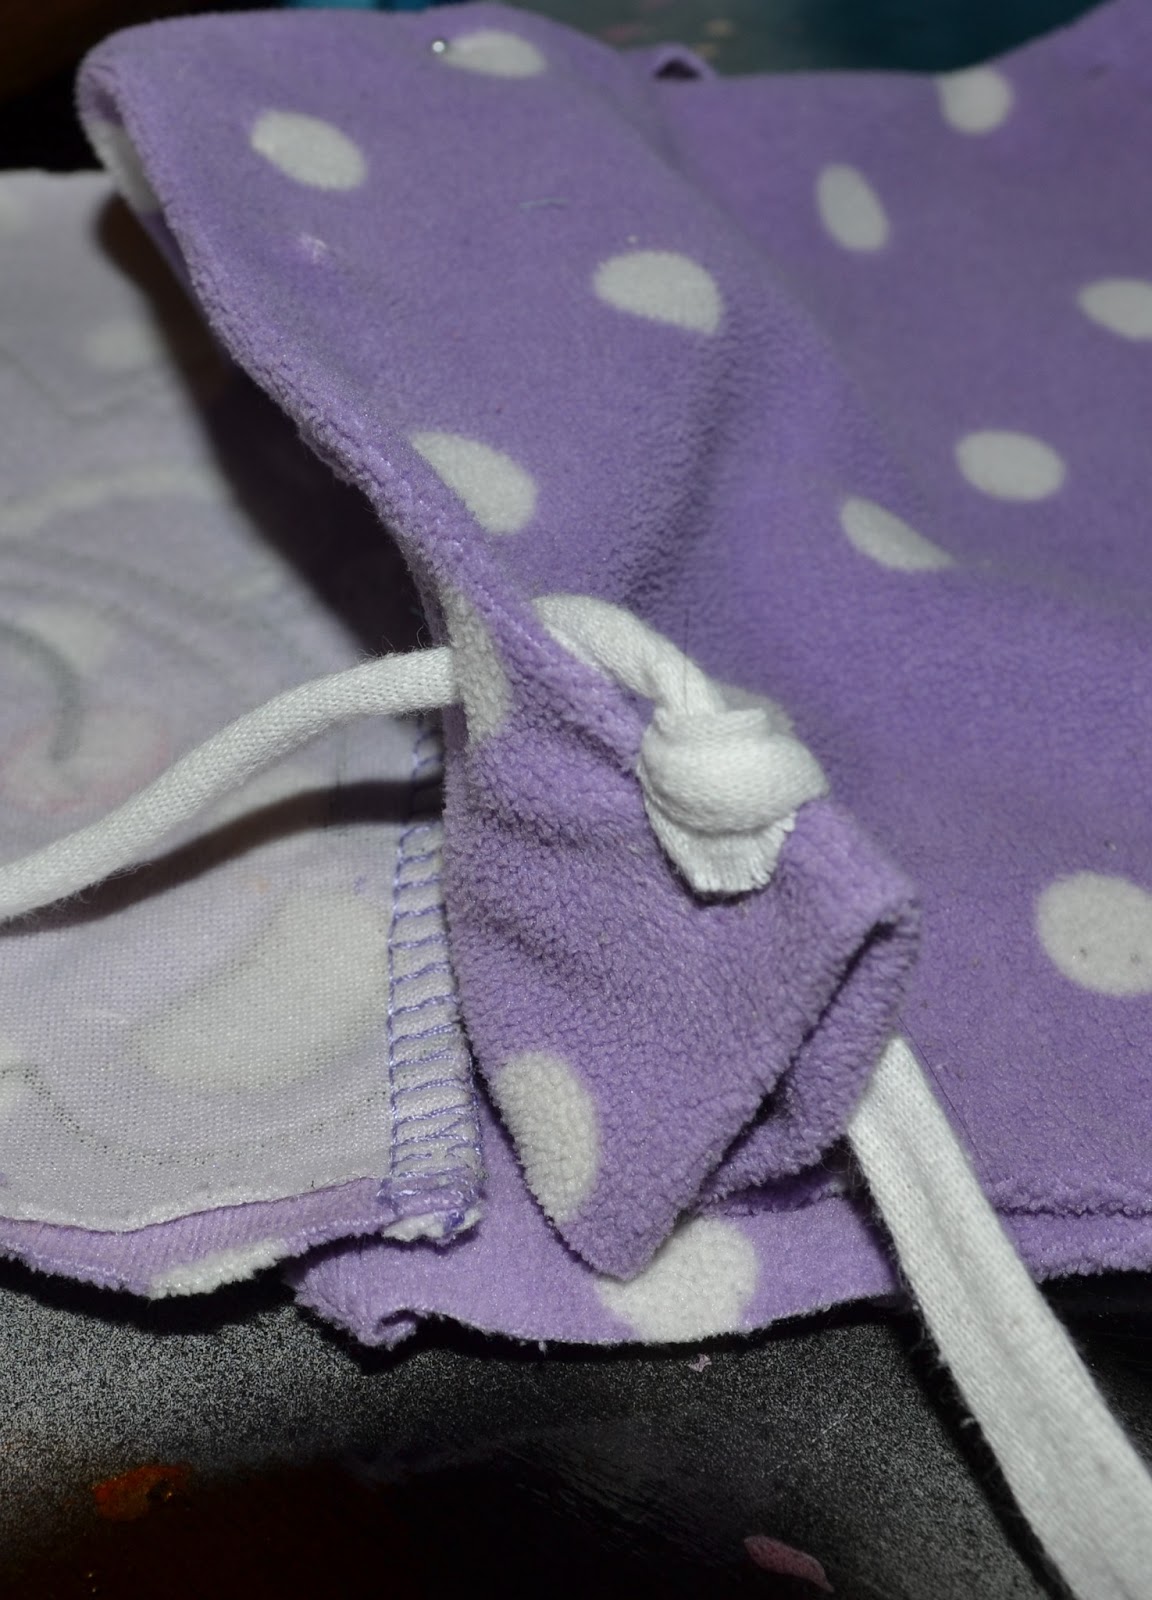
  I used the toothpick to poke a hole through the front top fold. I made my holes for each section separately. First the front top fold. Then I did the back top fold (through the flap piece as well). I also made holes around the top flap. I did the holes down the sides and the bottom last because I wanted to use a different knot.
After each set of holes, I used the yarn needle to pull my yarn through the first fold hole from the outside of the purse. Then through the second fold hole from the inside. Once I pulled through my first hole I pulled enough yarn through to make all the knots across the purse. I made sure the working yarn was left at the first knot and used the "tail" to make these knots. I used two different balls of yarn so that I could place one working strand on the front of the purse, and start on the same side on the back of the purse and knot along the top fold, then up and around the flap bring my "tail" back the the first knot. Which I could work into the square knots. I did an over hand knot after each hole and left a little yarn to make the knot look lose.
I used the longer ends of yarn from the back and front of the purse to make square knots into the sides of the purse and continue along the bottom, then up the opposite side. For the side knots I did not make my holes through the folds. I left the fold flap to be used as my "filler strings," so that I could have something to form my knot around. I continued to make my square knots right off the opposite side by adding a new filler string. I knotted around the new filler string to form the handle. I do not have pictures of how to do a square knot right now.
To make the closure I made two holes in the front of the purse and tied a scrap of yarn from the inside to make a loop on the outside. I attached another piece of scrap yarn to the center of the flap to put the bead on. At some point I lost the last half of these pictures. I will post them as soon as I find them or make another purse.

This work by Jennifer@theupcyclingnanny.com is licensed under a Creative Commons Attribution-ShareAlike 4.0 International License.
Based on a work at www.theupcyclingnanny.com.


